Archive
Battle Report – Archeotech Hunt
Today, Trenchmate Tim and I took full advantage of the bank holiday and played the new 40K mission, Archeotech Hunt, which can be found in White Dwarf 68.
It’s a simple Altar of War mission but with a different, and incredibly good fun, mysterious objective table. One player takes the role of Explorator (me in this case) who has to deploy and move first and the deployment map is Vanguard Strike. Three victory points are awarded for every objective under control at game end as well is the usual ones for Linebreaker, First Blood and Slay the Warlord.
Army Lists
We settled on a 2,500 point limit and pitted my Heralds of Desolation Chaos Marines and Kabal of The Sundered Heart Dark Eldar against Tim’s Reavers Redemptor and Dark Angels.
The Explorators
The Heralds of Desolation
HQ
- Warlord. Marax The Desolater: Daemon Prince of Tzeentch, a Level Three Psyker with Power Armour, Wings, Close Combat Weapon and Spell Familiar.
- Valaris: Level Three Sorcerer with Mark of Tzeentch, Power Armour, Aura of Dark Glory, Bolt Pistol, Force Sword and Spell Familiar.
Troops
- The Disciples of Change: 15 man Cultist Squad with auto pistols, close combat weapons and a heavy flamer
- Squad Crastor: 9 man Chaos Space Marine Squad Mark of Tzeentch, with Bolt Guns, Bolt Pistols, Close Combat Weapons, Melta Gun, Icon of Flame, Power Weapon (Castor), Combi-Melta (Castor) and Rhino with Havoc Launcher and Combi-Flamer
Elites
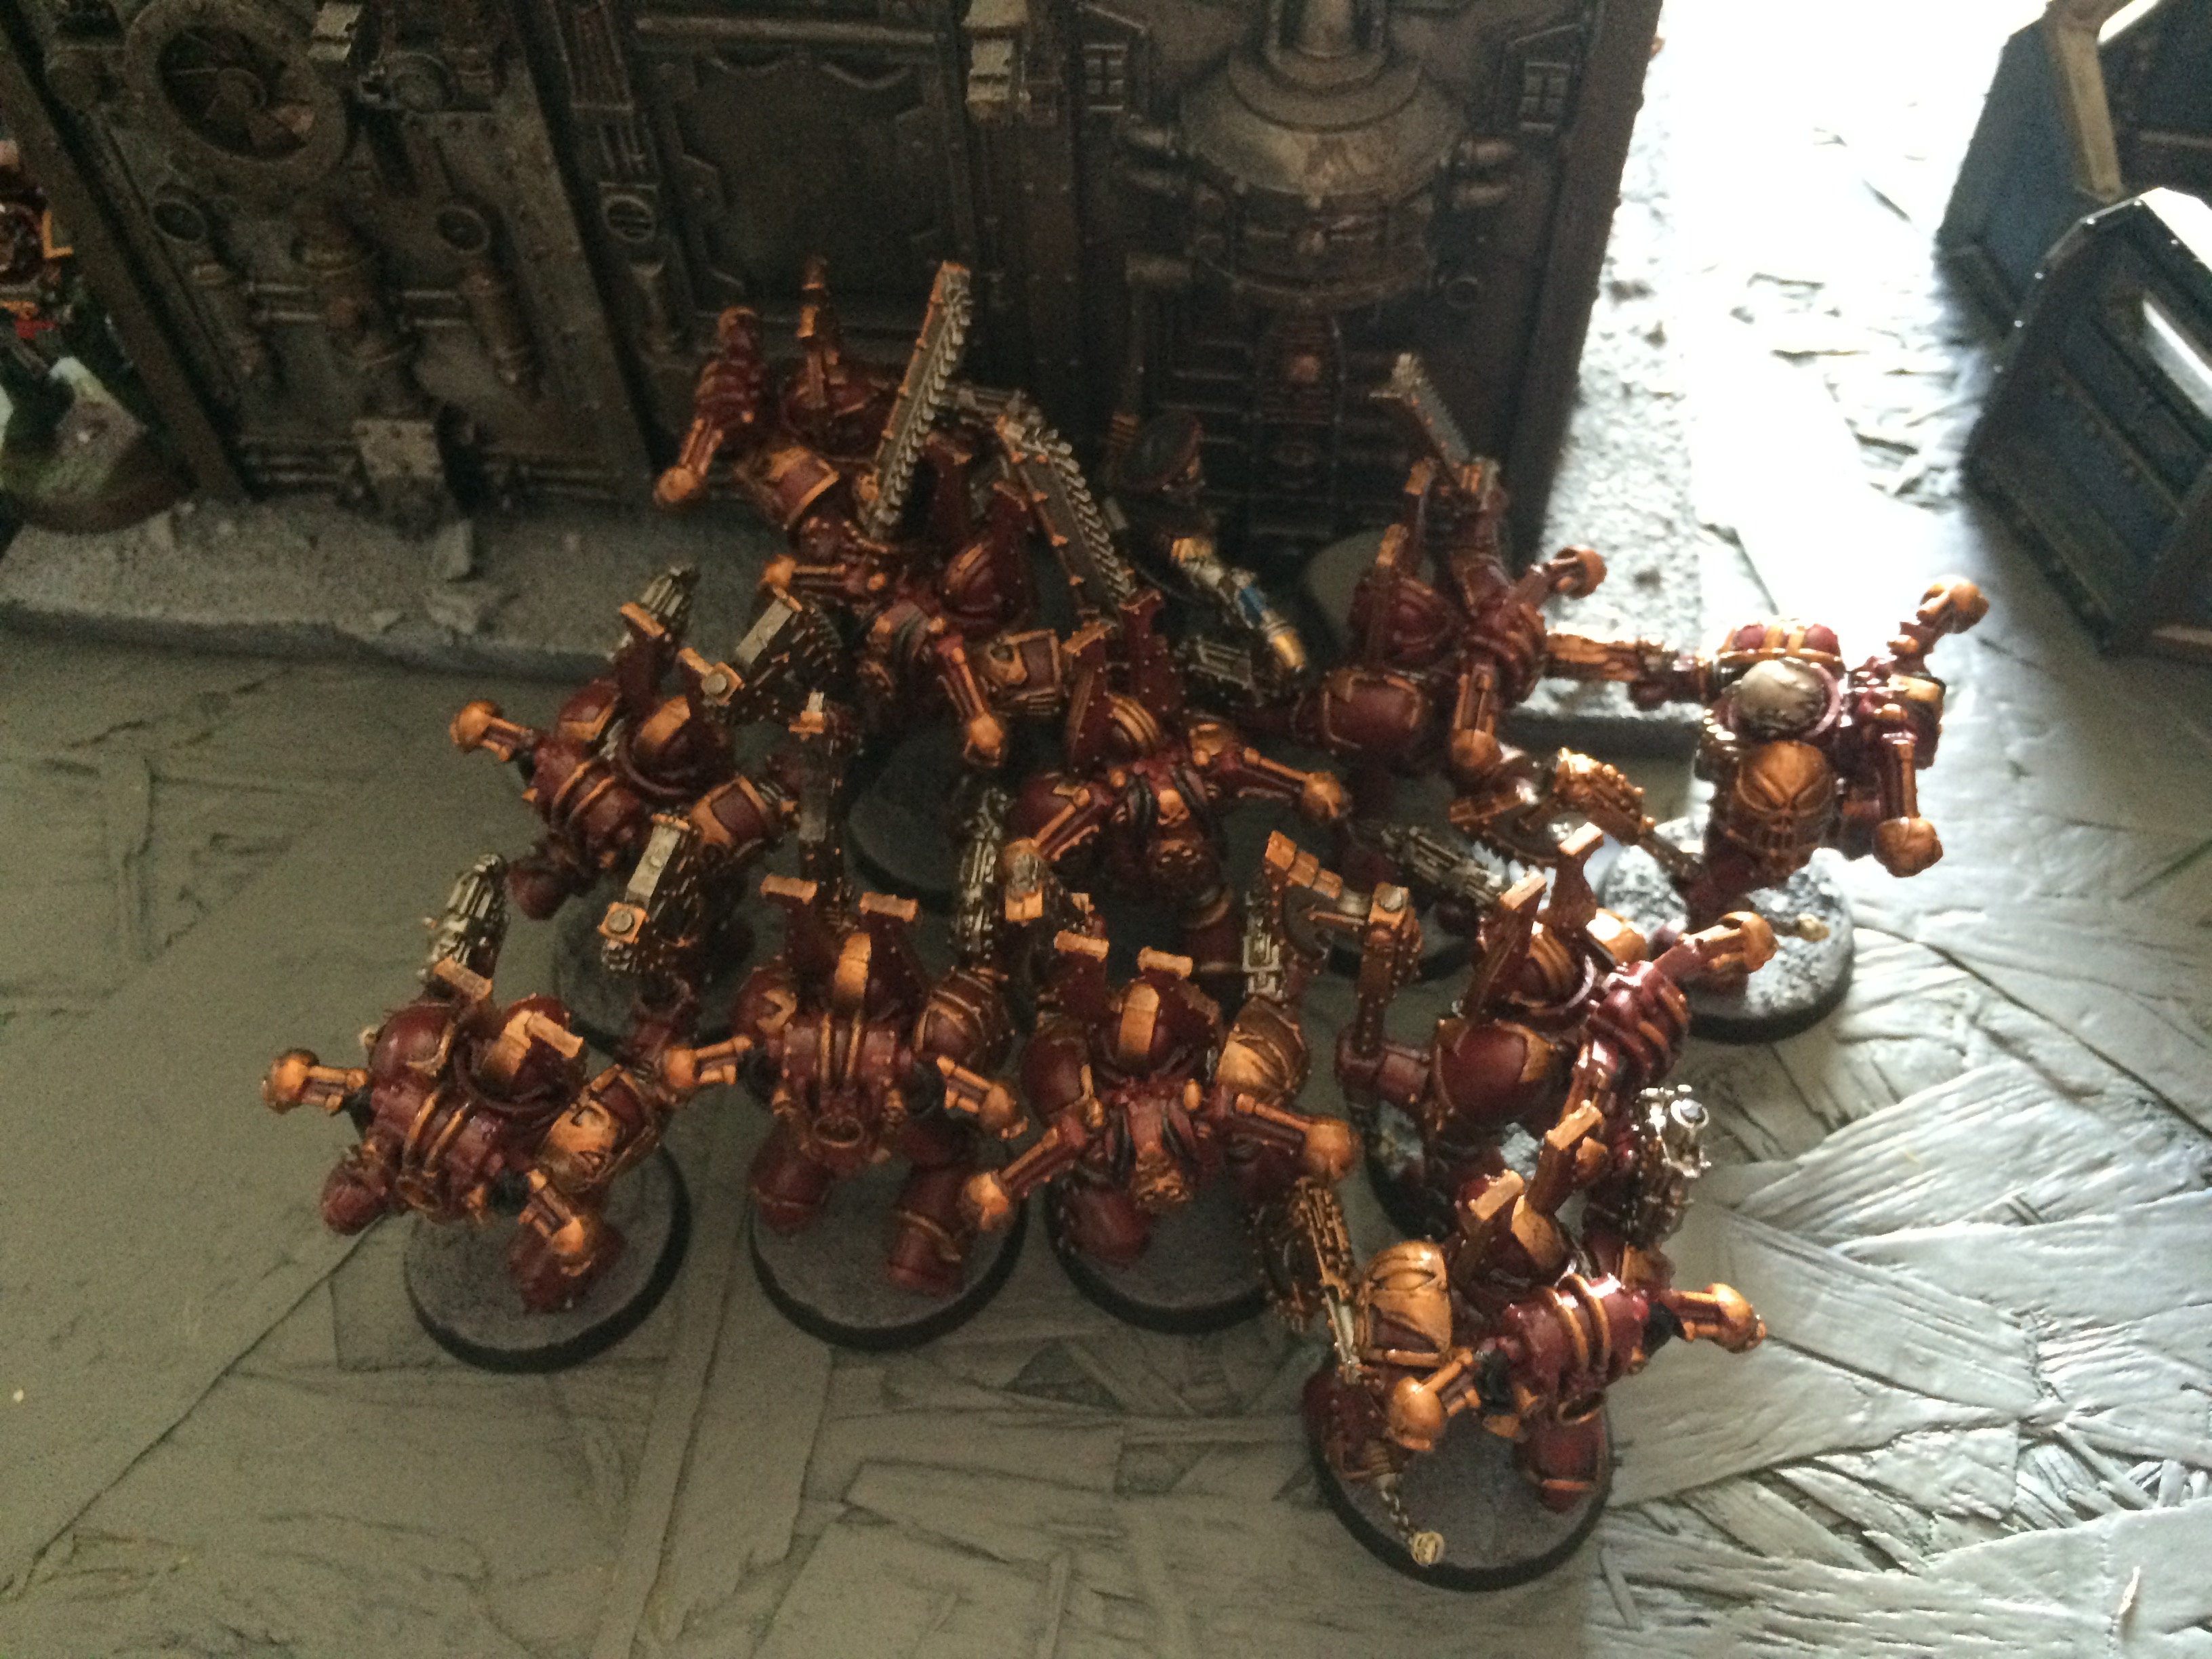
- The Red Butchers: 10 man Khorne Berserker Squad with Bolt Pistols, 2 Plasma Pistols and Rhino with Dirge Caster
- Novorus The Fallen: Helbrute with Reaper Autocannon, Combi-Bolter and Power Fist
Fast Attack
- Riders of Excess: 5 man Chaos Bike Squad with Mark of Slaanesh, Icon of Excess, Bolt Pistols, Close Combat Weapons and Power Weapon (Champion Only)
- Hope’s Lament: Heldrake with Baleflamer
Heavy Support
- Bonebreaker: Predator with Autocannon, Heavy Bolter Sponsors and Combi-Bolter
The Kabal of The Sundered Heart
HQ
- Kystis, The Architect of Flesh: Haemonculus with Gnarlskin, Close Combat Weapons and Stinger Pistol
Troops
- Bringers of Ruin: Ten man Kabalite Warrior Squad with Dark Lance, Blaster, Blast Pistol (Sybarite Only), Agoniser (Sybarite Only) and Raider with Dark Lance, Night Shields, Splinter Racks and Enhanced Aethersails
- The Red Veil: Ten man Wych Squad with Splinter Pistols, Close Combat Weapons, Plasma Grenades, one set of Razor Flails, one set of Hydra Gauntlets, Agoniser (Hekatrix Only), Blast Pistol (Hekatrix Only) and Raider with Blaster, Night Shields, Splinter Racks and Enhanced Aethersails
Elites
- The Shadowmen: Five man Mandrake Squad with Close Combat Weapons
Fast Attack
- Winged Malice: 5 man Scourge Squad with Splinter Carbines, Heat Lance, Blaster, Plasma Grenades, Blast Pistol (Solarite Only) and Agoniser (Solarite Only)
Fortifications
- Ageis Defence Line with Quad Gun
The Enemy
(Idiot that I am, I forgot to ask Tim for a copy of his roster but if he sends one over I’ll update the article. Until then, this is the best I can remember.)
Reavers Redemptor
HQ
- Warlord. Captain with Storm Shield, Power Weapon and probably a Bolt Pistol and Power Armour. (The model’s a lovely kitbash and is slightly larger than normal, but I’m fairly certain he’s not wearing Tactical Dreadnought Armour)
- Librarian, Level Two Psyker with Force Staff, Bolt Pistol and Power Armour
Troops
- Ten man Tactical Squad with Missile Launcher, Grav Gun and Drop Pod with Missile Launcher
- Ten man Tactical Squad with Missile Launcher, Special Weapon and Drop Pod with Storm Bolter
- Five Man Scout Squad with Heavy Bolter
- Five Man Scout Squad with Sniper Rifles and Missile Launcher
Elites
- Five Man Sternguard Squad with Plasma Gun
Fast Attack
- 3 Vehicle Land Raider Squadron with Stormtalon Escort
Heavy Support
- Predator with Twin Linked Lascannon and Lascannon Sponsons
- Vindicator
- Land Raider Crusader
Dark Angels
HQ
- Ezekiel, Level Three Librarian with Artificer Armour, Master-Crafted Bolt Pistol, Traitor’s Bane, Book of Salvation and Psychic Hood
Troops
- Ten man Tactical Squad with Heavy Bolter and Special Weapon
Heavy Support
- Five man Devastator Squad with Missile Launchers
Officio Assassinorum
- Culexus Assassin with Animus Speculum, Etherium and Psyk-Out Grenades.
The Game
Turn One

Turn 1 – The forces of Chaos and their allies move out, being met by the armoured might of the Adeptus Astartes
The followers of the Corpse God were unable to seize the imitative so my forces moved first. My Scourges jumped forward to claim their first objective which turned out to be a Shadowsource Drive, this allowed me to enforce the Night Fighting rule for as long as I controlled the objective, a fact that saved my hide on more than one occasion!
I had to reverse the Rhino carrying Squad Crastor as I’d put my Sorcerer in with them and Tim had infiltrated his Assassin close enough to potentially affect the warp charge generated from him. In doing so, the Rhino with my Khorne loonies jumped forward, intent on taking out this synthskin-clad nightmare.
The Psychic Phase was a let down as I was unable to summon any daemons and nothing else was useful at that time.
Other than that, I really didn’t do much in the first turn. I took a few pot shots with my heavy weapons which took out a couple of Scouts and a Tactical Marine who was standing in the wrong place, but my initial goals were achieved as my force was now in the right position to advance on the remaining five objectives.
Tim meanwhile dropped his first pod behind the Manufactorum (pictured), while his Land Raider advanced down the middle of the board and fried one of my Mandrakes who’d infiltrated close to his deployment zone.
All was going swimmingly until his Predator blew up my Berserker’s Rhino, forcing them into the guns of his just-dropped Tactical Squad who cut down two of them.
Turn 2

Hope’s Lament takes to the field and makes for the enemy
My Heldrake arrived and immediately zoomed forward, intent on securing the flank. I also moved my two raiders along side it (but just out of One Eye Open range). I also had a ‘fuck it’ moment and flew Marax The Desolater out from his cover and moved my Helbrute up to support him. I also disembarked my Chaos Marines to take the nearby objective then moved the empty Rhino up to support the Berserkers. I also moved my surviving Mandrakes through cover to engage with Ezekiel and his Tactical Squad retinue.
Psychically, things still weren’t going well. Marax attempted to again summon some daemons but was not only Denied by Tim, he also suffered a Perils of The Warp wound but fortunately didn’t crash to the ground. Unfazed, he then proceeded to burn some of Tim’s annoying little Scouts.
Moving on to the shooting phase, my Combi-Flamer-equipped Rhino gave the Assassin a bit of a toast, knocking off one wound, while the Berserkers took another with a hail of bolts before charging into combat with it. Despite the fact that they were attacking at WS1, the sheer numbers of them reduced the Imperial Agent to a nasty smear down the side of the Manufactorum.
Sometimes life’s just not fair! Please note that the Culexus Assassin has cunningly disguised itself as an Astra Militarum Commissar. Tim had forgotten his model so I lent him the most appropriate one I had.
On the other side of the battlefield I attempted the same thing with my Mandrakes. They managed to take out one of Ezekiel’s bodyguard with a baleblast but lost a member to overwatch on their charge. In the combat they managed to kill another Marine but honours were even and the combat would continue.

The Unforgiven stand strong against the horror of a Mandrake assault.
Tim wasted no time. His Land Speeder Squadron and escort arrived and headed straight for the Raiders coming up the flank. Their combined fire power took out the lead craft and the successive attack from the nearby Dark Angels reduced the number of now-grounded Wyches to four.
Intent on avenging the dead Assassin (I’m sure the invoice the Reavers Chapter Master will receive will be somewhat large), the nearby Tactical Squad pummelled the Berserkers, leaving only two standing. Also helping out was his Predator which nonchalantly dispatched my remaining Rhino.
Most annoyingly though was his Devastator squad who managed to knock a wound off my Daemon Prince with a Flakk Missile, fortunately though he remained airborne.
Finally, the Land Raider rounded on the remaining Dark Eldar Raider. Despite significantly superior fire power, it only managed to stun the crew and knock off a couple of hull points, looks like paper armour is useful after all!
Turn 3
The game really was on a knife edge by this point. We’d both secured a couple of objectives and the rest were very for the taking. I certainly find the third and fourth turns to be the most exciting, it’s at this point that mistakes will really hurt you and one dice roll may be all it takes to make or ruin your day.
I started well, my Slaaneshi bikers came on and turbo boosted down the middle, intent on causing some havoc. Now that my Haemonculus had arrived at the Shadowsource Drive, I jumped my Scourges next to the side of the Land Raider, hoping that their Heat Lance and Blasters would do some damage.
My Daemon Prince grounded himself among the undoubtedly ecstatic cultists so that he could charge the marines on the Manufactorum the following turn. Now that he was safe, I turned my Helbrute around and sent it after the Crusader.
My surviving Wyches moved towards the Tactical Squad that had cost them dear, blasting them with splinters but doing no damage, at this time anyway.
Meanwhile, my Heldrake roared overhead and rounded on the Devastator Squad who had the temerity to shoot at his master.
The Psychic Phase finally stated working for me and Marax summoned a squad of Pink Horrors which were placed next to the surviving Berserkers to help shore them up in their assault on the Marines contesting the Manufactorum. They wasted no time in blasting them with some Flickering Fire which ate up a couple of the post-human dullards.
My shooting phase was, in a word, fun. The Quad Gun the Cultists were amusing themselves with knocked the pesky Stormtalon from the sky while the ‘Drake’s Baleflamer cooked all four of the Devastators with missile launchers, setting the remaining squad member on fire.
The Scourges certainly did better than last time (they had a little deep strike mishap and got splattered all over the field) and, while they didn’t take out the Land Raider, they knocked off two hull points and left the crew stunned.
The assault phase was certainly bloody. My Mandrakes failed to make any headway with Ezekiel and his two surviving marines, but likewise neither did they and the combat continued.
Nearby my Wyches charged the other half of the Dark Angel Tactical Squad. Their overwatch fire took out all but the Hekatrix and I reasonably thought it was all over for that plucky lady. Boy was I wrong. With one flick of her Agoniser, she dispatched the remaining marines then consolidated to take their objective.
Tim started his movement phase by taking a bit of a gamble. He attempted to bring down his remaining drop pod in my deployment zone, this would enable him to take the Shadowsource Drive with ease and allow him to play havoc in an almost completely undefended part of the board. At least it would have had he not scattered off the board, forcing a roll on the Deep Strike Mishap table which resulted in me placing the pod behind his Predator, a position which would effectively rule that whole squad out for the game. Harsh words were said.
Despite this hilarious setback, Tim is not a man to take things lying down; he debarked his Warlord, Librarian and Sternguard from the Land Raider and squared up to the combined threat of the Scourges, Raider full of Kabalite Warriors, and the approaching Chaos Bikers.
His shooting phase took care of all the Scourges and two of the five Bikers but still did nothing to the Kabalite Raider (miracles do happen) while around the Manufactorum, his depleted Tactical Squad managed to take a second wound off my Daemon Prince.
It was bound to happen, but my Mandrake’s luck ran out and the Chief Librarian of the Dark Angels swatted them back to the aether and the Tactical Squad at the Manufactorum saw off the last of the Berserkers. Nevertheless all this may have been too late as Tim’s forces were scattered and significantly depleted, it was looking good for the forces of darkness.
Turn 4
At this point, it was really my game to lose so I was going to do my best and not give in to my usual tactical idiocy. I moved my Helbrute across the field towards the displaced Tactical Squad, this may seem petty but they were still a threat and the only other option would be to exit the field and go into Ongoing Reserves. At least this way I’d be placed to fly back towards my lines on turn five.
My surviving Raider moved up the field towards Ezekiel’s position and deployed the Kabalite Warriors within while my Daemon Prince jumped behind the Tactical Marines on the Manufactorum and the Pink Horrors moved to box them in from the other side.
Knowing the outcome was probably not looking good for my surviving bikers, I decided to sacrifice them and charged the Reavers’ Captain. At the very least they might tar pit his squad for a turn or two.
I used up all my Warp Charges on psychic shooting attacks from my Daemon Prince and Horrors which further reduced the Marines in their path while upfield the Heldrake took out eight of the wandering Tactical Squad with its Baleflamer.
Finally I shot at Ezekiel’s unit to no avail before charging them with the Kabalite Warriors.
Unsurprisingly, my Marax and the Horrors destroyed the surviving Tactical Marines and claimed another objective. I now held four. Likewise it was no shock that Tim’s Captain took out the remaining bikes, however the Kabalite Warriors remained locked in combat with Ezekiel and co.
At this point Tim conceded but we played out a bit of the final turn to see if he could shoot down my Heldrake to deny me a VP for Linebreaker, which he managed.

The dust settles and the Imperium retreats to fight another day.
Final Score
13 – Heralds of Desolation and Kabal of The Sundered Heart (4×3 for the objectives, 1 for First Blood)
6 – Reavers Redemptor and Dark Angels
Conclusion
This was a very enjoyable game, not only because it is a very rare win for me, especially against Tim. The mission was a fairly standard secure objective setup but what made it stand out was the special Mysterious Objective table which conveyed very potent benefits to those who controlled them. My forces, and in particular my Dark Eldar, survived significant amounts of concentrated fire thank to my ability to keep Night Fighting in play and likewise Tim was only able to shoot down my Heldrake thanks to obtaining an Icarus Skyrule Engine.
It does go to show what a simple alteration to the standard rules can do for a game and while it likely too random for competitive play, it’s ideal for an afternoon session between friends.

Highly Recommended!

Buy your plastic crack here! (Use code JOH833 for double loyalty points :-) )